Lets say you are behind a firewall and want to set HTTPS on your Istio ingress using Self-Cert.
you can do this doing the following.
We will do this the Clicky-buntie way in Rancher.
High-Level steps
- Enable SDS => please see (http://dbones.github.io/2020/06/rancher-istio-tls/)
- setup Cert-Manager
- create the self-cert issuer
- create Cert from the issuer
- attach it to the Istio Gateway
Cert-Manger
there are 2 ways
- Via Istio Helm install, you can add the following answer
certmanager.enabled=true- note this seems to install an old version (it did for me - v0.8.x). - Via JetStack Helm (which allows you to get the latest - v0.15.1 in this case)
lets setup via the Jetstack Helm, with rancher (btw the docs are really good: https://cert-manager.io/docs/installation/kubernetes/)
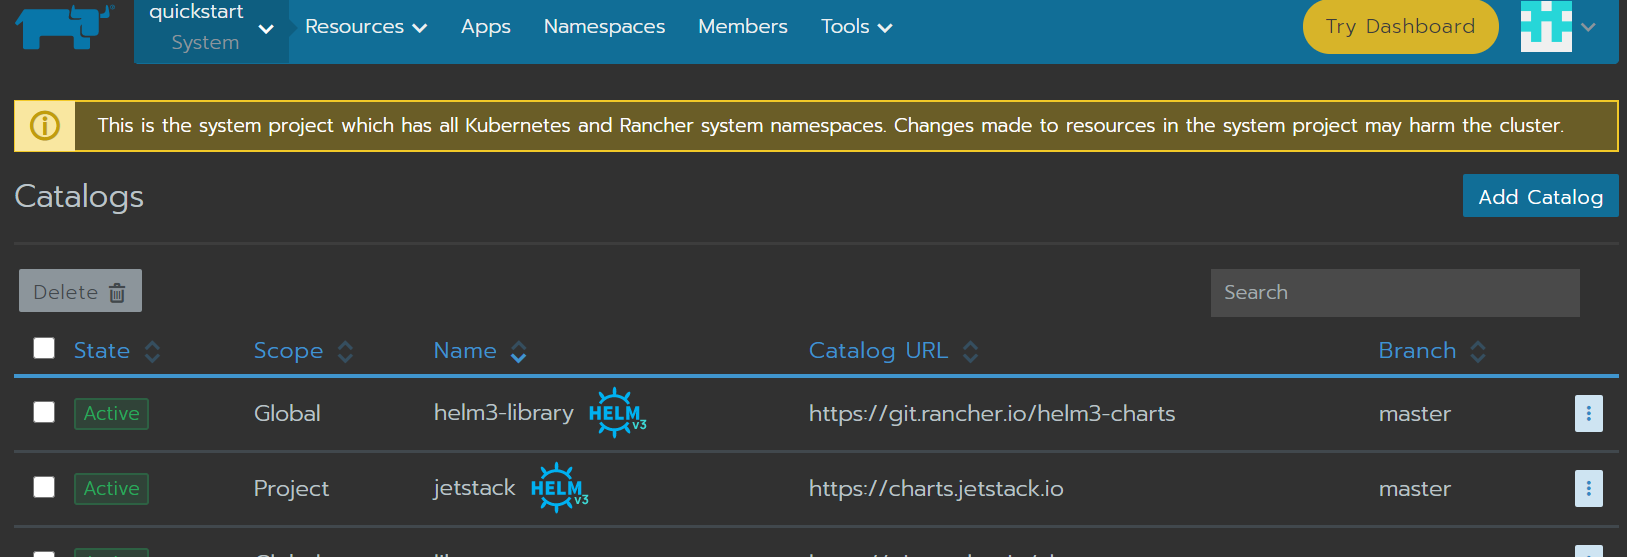
In the System Rancher Project, add the jetstack helm3 charts (https://charts.jetstack.io), It should look like this:
Now you can launch it, in the catalog entries, search for cert
we are going to
- use the
cert-managernamespace - add the answer
installCRDs=true, this sets up all the CRD’s in one step
ok thats done.

Self Cert Issuer
We want to have our TLS certs to be created and rotated for us.
In this case we choose the ClusterIssuer, it will look for Certificates in any namespace and ensure they are keep upto date. The alternative is to use the Issuer which needs to be deployed in the same namespace as the Certificates it will manage.
apiVersion: cert-manager.io/v1alpha2
kind: ClusterIssuer
metadata:
  name: selfsigning-issuer
spec:
  selfSigned: {}
Certificate
For istio we need to create a Certificate and have this stored in the Kubernetes TLS secerts inside the istio-system namespace… thats a lot just there
using the Cert-Manager Certificate we can describe this to the ClusterIssuer and it will do all the hard work.
apiVersion: cert-manager.io/v1alpha2
kind: Certificate
metadata:
  name: awesome-io
  namespace: istio-system
spec:
  secretName: awesome-io
  # The use of the common name field has been deprecated since 2000
  commonName: "awesome.io"
  organization:
  - Awesome inc
  dnsNames:
  - awesome.io

  keySize: 2048
  keyAlgorithm: rsa
  keyEncoding: pkcs1

  issuerRef:
    name: selfsigning-issuer
    kind: ClusterIssuer
note in the above
name: selfsigning-issuer- this is the name of theClusterIssuernamespace: istio-system- as mentioened we need the Cert to be placed in this namespace, to allow for the SDS to attach it to the Gateway correctly (which we setup in the next step)secretName: awesome-io- we will use this to reference it in the GatewayrotationPolicy: Always- this will rotate the private key
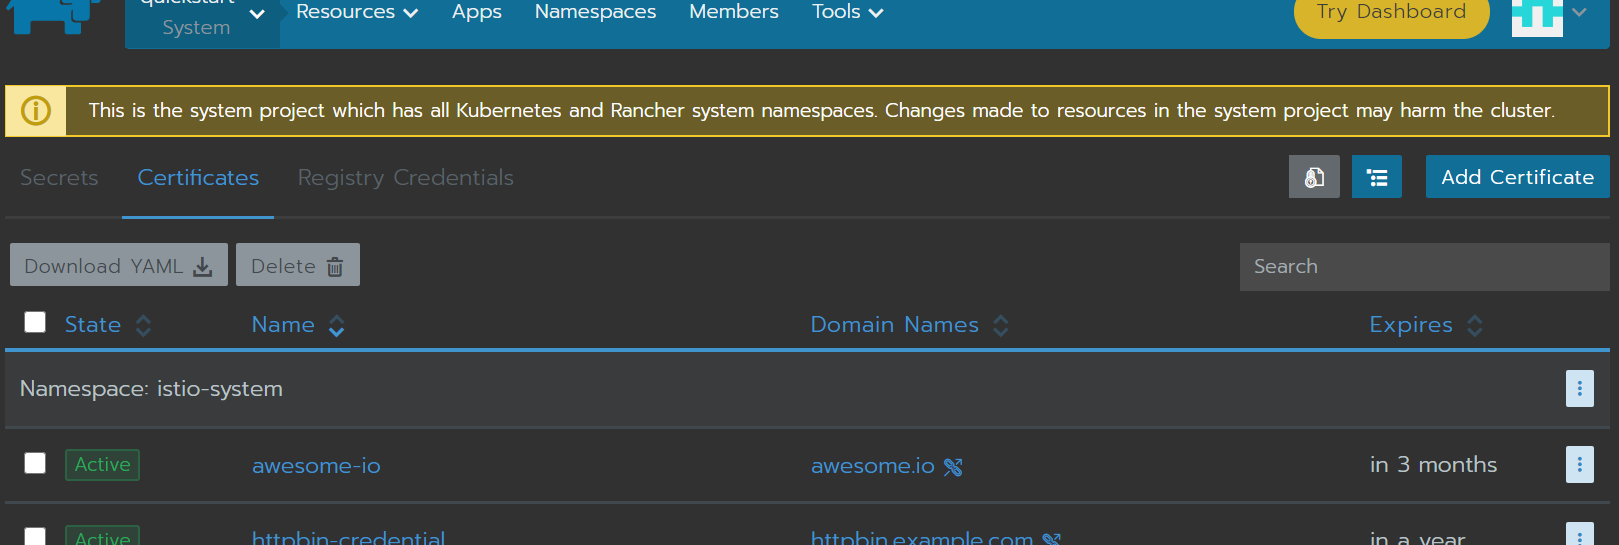
we should have and Awesome.io Certificate now :D
Applying TLS Termination in the Gateway
The Gateway is how we can setup which Hosts and ports we will support.
In this case we want to support awesome.io and apply TLS with out new Cert.
apiVersion: networking.istio.io/v1alpha3
kind: Gateway
metadata:
  name: awesome-io-gateway
  namespace: istio-system
spec:
  selector:
    istio: ingressgateway # use istio default ingress gateway
  servers:
  - port:
      number: 443
      name: https
      protocol: HTTPS
    tls:
      mode: SIMPLE
      credentialName: awesome-io # must be the same as secret
    hosts:
    - "awesome.io"
The abvoe has a couple of interesting things
tls- this is where we reference the TLS Cert, by itssecretNamehosts- we have set it here, we could have this this to*namespace- we have placed the gateway in the istio-system, it does not have to go, but in this case we would like to reuse it (later post)
Testing locally
For this setup we need to set the host header in the request
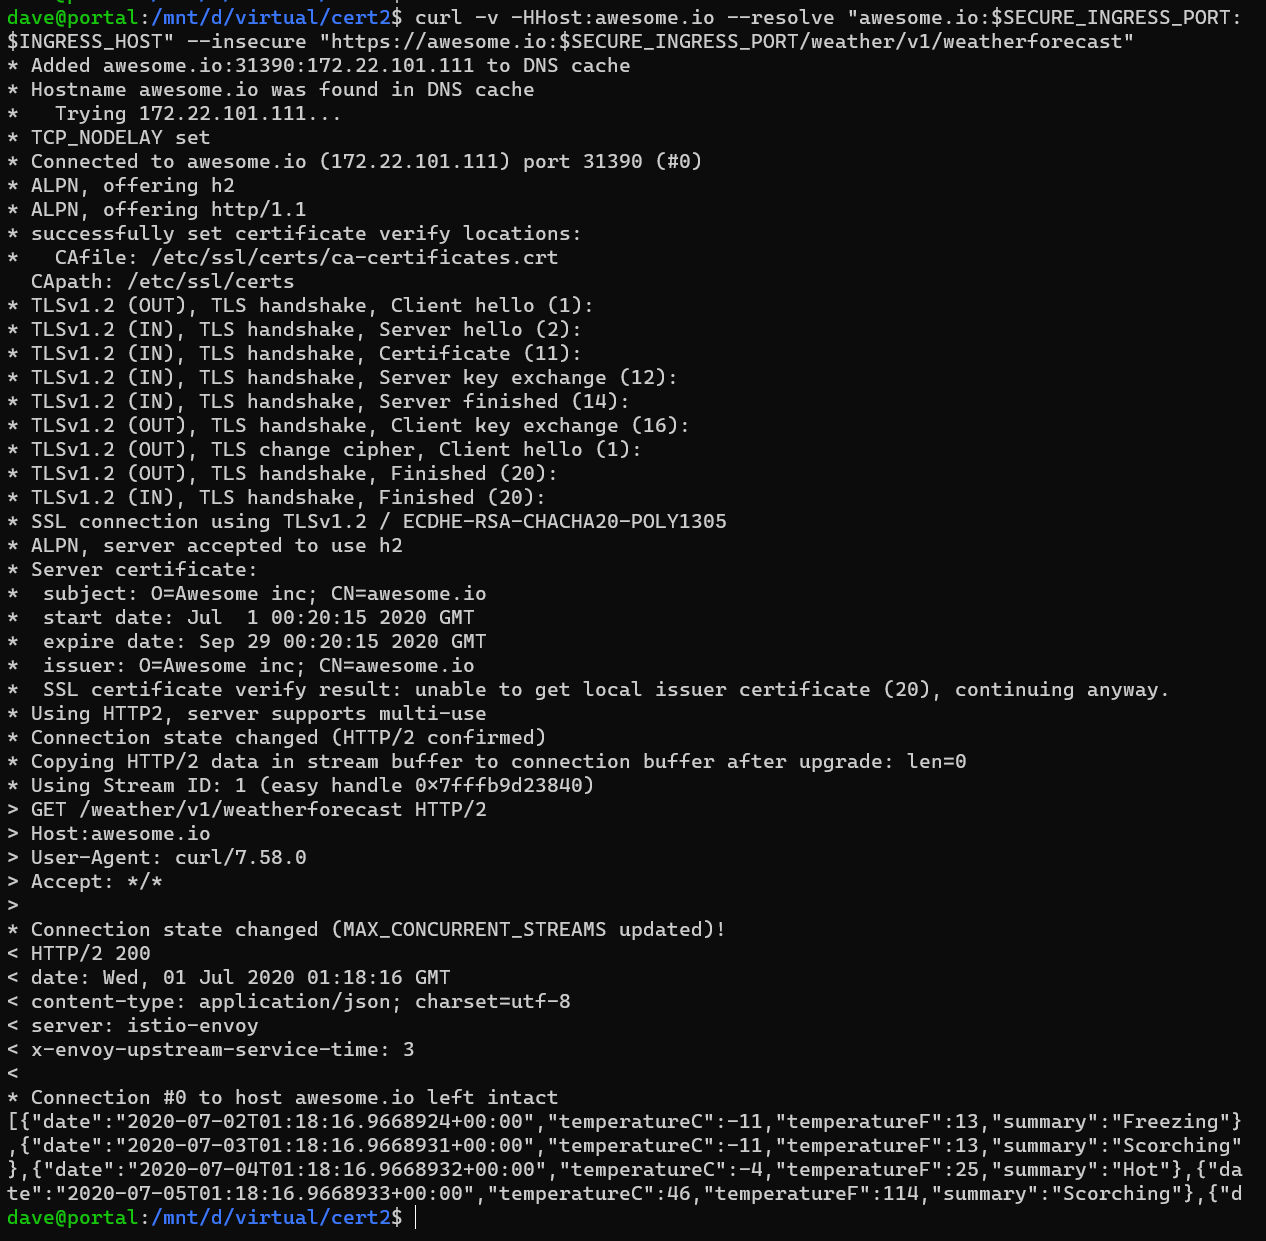
curl -v -HHost:awesome.io --resolve "awesome.io:$SECURE_INGRESS_PORT:$INGRESS_HOST" --insecure "https://awesome.io:$SECURE_INGRESS_PORT/weather/v1/weatherforecast"
Where:
SECURE_INGRESS_PORT- Is your HTTPS port (31390)INGRESS_HOST- is your cluster DNS or an IP of one of the nodes.
note the --insecure, this is becuase our cert is Self Signed.
the output should look like this (showing all the handshake)